Table of Contents
- 🎯Too Long; Didn’t Read
- Pre-Trip Prep
- Route planning and difficulty check
- Weather, season timing, and a turnaround point
- Share the plan and think through communication
- Gear and Core Safety Skills
- Clothing layers and protection from cold stress or heat stress
- Navigation: map, compass, and backups
- First-aid kit and field first aid
- On-Trail Behavior and Risk Management
- Pace, hydration, and food without energy crashes
- Moving through difficult terrain safely
- Group spacing, leadership, and stop rules
- Natural Hazards and Wildlife
- Ticks, mosquitoes, and bite prevention
- Encounters with animals: distance and behavior
- Thunderstorms, heat, cold, and other weather risks
- Emergencies: What to Do When Things Go Sideways
- If you’re lost: stop, assess, make a plan
- Injury on the route: stabilize and evacuate
- SOS signals, coordinates, and working with rescuers
- ❓FAQ❓
- Do I need trekking poles, and when do they actually help?
- What’s the best way to prevent blisters before they start?
- Should I bring a water filter, or is carrying enough water fine?
- How do I calculate water needs without overthinking it?
- Is it worth training specifically for hiking, or is general fitness enough?
Hiking safety tips for planning, pacing, and emergencies

🎯Too Long; Didn’t Read
- Recent reports determine route selection. Elevation gain, surface conditions, and water crossings dictate effort. Flat miles differ entirely from steep ones – plan pace for the slowest member.
- Verify weather forecasts days in advance, then again the morning of. Consider season and daylight. Establish a firm turnaround time before starting. Communicate the plan: start location, expected return, backup route, and group details.
- Assume weak signals. Carry a power bank and offline maps. Satellite devices are critical for remote areas. Manage body temperature by layering early to control sweat and chill. Wear a hat year-round. Store spare socks and gloves in cold weather.
- GPS can fail. Bring a paper map, know compass use, and identify a simple bailout route. Carry first aid supplies and understand basics: controlling bleeding, stabilizing injuries, preventing hypothermia.
- Hydrate with regular sips. Eat every 60–90 minutes; include salty snacks. In sketchy terrain, slow down. Choose your path carefully, secure loose gear, and never rush across wet rock or loose scree.
- Assign a leader and a sweep to monitor the group’s rear. Maintain spacing and conduct frequent headcounts. Prevent insect bites by covering skin, using repellent, and performing thorough tick checks. Remove any ticks properly.
- Give wildlife ample space. Never feed animals. Secure all food. Back away calmly if approached. During storms, leave exposed high ground immediately. Spread your group out, stash metal items, and avoid isolated trees.
Pre-Trip Prep
Route planning and difficulty check
Effective preparation begins with the route, not the gear. Study it. Log distance, elevation, and terrain. Check water sources. Never rely on a single guide; cross-reference multiple reports and prioritize recent updates. Understand that five flat miles are not five climbing miles.
Assess the group honestly – fitness, navigational skill, pacing. Build a realistic timeline including breaks and delays. Assume things will take longer.
Map review requires more than a glance. Trace the entire line: identify every junction, river crossing, exposed section. Meticulous planning prevents rushing on the mountain.
Weather, season timing, and a turnaround point
Check the forecast a few days out, then again on departure day. Temperature, wind, precipitation, thunderstorm risk, snow depth – these matter as much as mileage. During shoulder seasons, conditions can flip fast: dry in the morning, ice by midday. Set a turnaround point in advance – a place or a time where you call it if continuing isn’t safe. That takes the pressure off and helps you avoid stubborn calls.
Season affects gear and pace. Summer raises overheating and dehydration risk. Winter brings cold stress and limited daylight. Forecasts guide you, but watching the sky and wind still matters.
Share the plan and think through communication
Before heading out, share your route. Not just the start point, but your planned return and an alternate. List every person with you – names and numbers. Cell signal dies. Rely on it and you’re stuck. Pack a power bank. Consider a secondary SIM card from another network. Download maps for offline use.
For true wilderness, think about a satellite tracker; weigh the cost against the risk. Set a hard check-in time. Miss that window, and your contact knows exactly who to call first. This isn’t pointless routine. It turns a delay into a directed search. Rescue teams waste vital hours on silence. They need certainty, not confusion.
Gear and Core Safety Skills
Clothing layers and protection from cold stress or heat stress
Use a layering system: a base layer moves moisture, a mid layer holds warmth, and an outer layer blocks wind and precipitation. Cotton gets wet and chills you in cold conditions, so synthetic or blended fabrics are usually the better move. Adjust temperature early – before you’re shivering or sweating.
A hat matters in both winter and summer. Gloves and spare socks take little space and can seriously help with cold stress. In heat, focus on airflow and sun protection. Heat stress is as risky as cold stress – focus drops, mistakes go up, dehydration follows.
Navigation: map, compass, and backups
Digital tracks are convenient, but battery and signal are still weak points. A paper map and compass don’t quit – you just need the skill. Study the route ahead of time: bearings, landmarks, ridgelines, and possible detours. Mark key points with pencil and note distances between them.
Your backup plan should include shelter options, water sources, and exits to populated areas. Navigation isn’t a one-time check. It’s constant. Regular map-to-terrain checks cut down on getting turned around and save energy you’d otherwise waste on backtracking and trail-hunting.
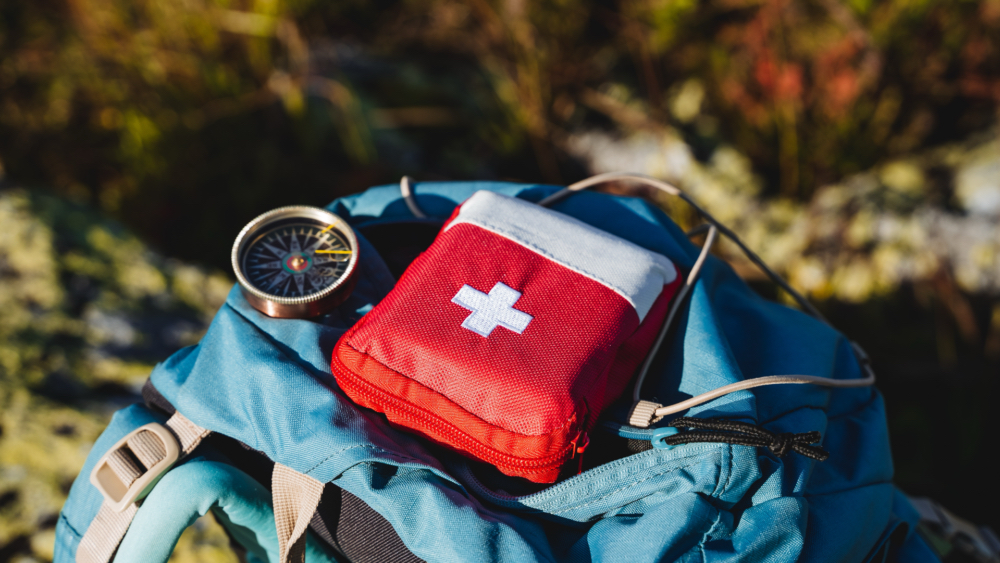
First-aid kit and field first aid
Your kit depends on trip length and how far you are from help. A basic kit includes sterile wipes, gauze, bandages, an elastic wrap, tape or bandages, antiseptic, pain relief, allergy meds, and an emergency blanket. Bring personal meds with extra supply, kept separate.
Skills matter more than kit size: controlling bleeding, stabilizing a limb, cleaning wounds, checking a person’s condition. Gloves and scissors make things easier and cleaner. Check expiration dates. A poorly prepared kit gives a false sense of security and won’t solve the problem.
On-Trail Behavior and Risk Management
Pace, hydration, and food without energy crashes
Set the pace to the slowest person. Hard surges drain you fast and can lead to overheating. Drink steadily, in small amounts, without waiting for strong thirst. Low water hurts endurance and attention. Plan food ahead: complex carbs, nuts, dried fruit, salty snacks to replace electrolytes.
Long breaks can trigger sharp energy drops, so aim for shorter stops every 60–90 minutes. Caffeine and sweets can help briefly, but don’t lean on them. A steady pace plus regular fueling reduces mistakes in tricky sections.
Moving through difficult terrain safely
Steep slopes, loose rock, and wet stone demand focus and a slower pace. Before you enter, pick your line and identify stable foot and hand placements. Fit your pack snug so it doesn’t shift when you lean. Use trekking poles with intention – don’t dump all your weight onto them.
For stream crossings, choose wider, shallower spots and test the bottom for stability. If you’re unsure, detour. Slick surfaces punish rushing. Shoes with solid tread and dry socks reduce fall risk. Most slip-ups happen from fatigue and rushing, not because the terrain is “too hard.”
Group spacing, leadership, and stop rules
Stay close enough to function as a group, but not packed in. Spacing should let you see the person ahead and react to signals. The leader watches pace and navigation. The sweep watches for stragglers and checks people’s condition. Keep discussions brief and practical – no long trail debates.
Plan stops ahead: roughly every 90 minutes, or when there’s a real need. At breaks, drop packs, check feet, refill water. Losing contact inside the group leads to confusion and wasted time. Clear roles and regular headcounts save time and stress.
Natural Hazards and Wildlife
Ticks, mosquitoes, and bite prevention
Bug protection starts with prevention. Long sleeves, pants tucked into socks, and closed shoes lower bite risk. Apply repellent to skin and clothing as directed. After breaks, do quick checks of clothing and exposed skin. Remove ticks with a proper tool or tweezers – don’t crush the insect.
Clean the bite area with antiseptic and note the date. In higher-risk regions, tick-borne encephalitis vaccination can be a smart choice. Head nets and light gloves help at dusk and near water, where insects peak.
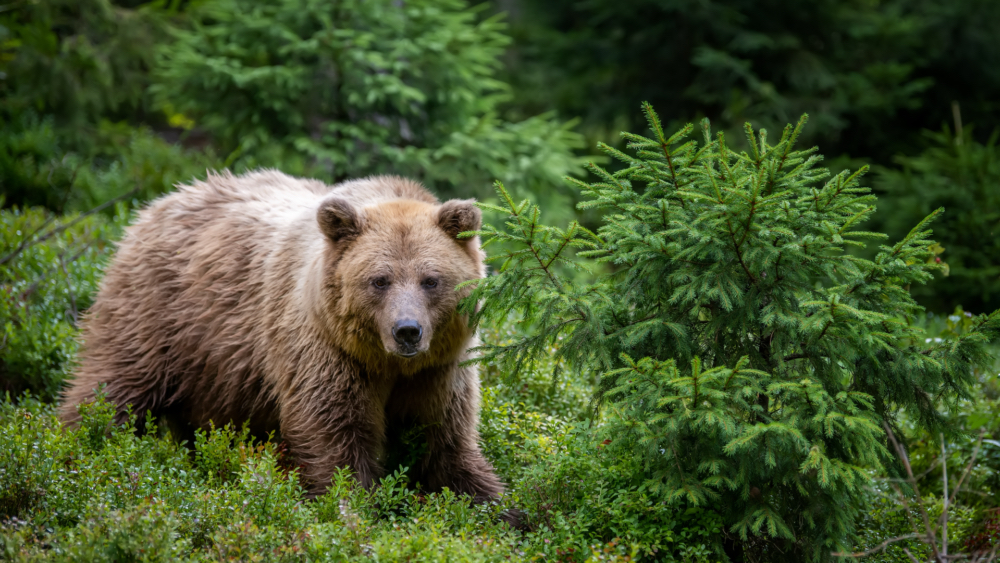
Encounters with animals: distance and behavior
Keep your food to yourself – don’t feed wildlife, period. That close-up photo isn’t worth it, either. Even if an animal looks calm, give it space. Store food and trash in sealed bags since smells carry and draw interest. If you come across one unexpectedly, stay quiet. Move slowly. No sudden moves or loud talking. Ease back while watching the animal. Young ones nearby? Get farther away, fast. Adults get defensive.
Set up camp away from trails and water. In thick brush, make regular noise – it alerts animals and avoids startling them.
Thunderstorms, heat, cold, and other weather risks
Thunderstorms demand quick decisions. Get off high ridges immediately – those exposed summits are lightning magnets. Avoid lone trees too. Stash any metal gear in your pack. Spread your group out; don’t cluster.
In scorching heat, start hiking at dawn. Use shade for breaks, not just scenery. Sip water constantly, don’t gulp. Cold combined with wind steals body heat fast. Prioritize dry layers and cover your face.
Fog obscures everything. Navigation gets tricky, so slow your pace. Trust your map, not your gut feel. Heavy rain turns trails slick and creeks into obstacles. Expect rising water.
Rarely does weather ambush you. Watch the signs. Conditions usually build.
Emergencies: What to Do When Things Go Sideways
If you’re lost: stop, assess, make a plan
First move: stop. Wandering “just to see” expands the error fast. Check resources: water, daylight, device battery, group condition. Confirm the last known landmarks, review the map, and pin down your best estimate of location. If you have service, send coordinates and a terrain description.
Only try to backtrack if you’re confident about direction. Sometimes staying put overnight is safer than moving in the dark. Panic burns energy and leads to impulsive calls. A clear algorithm helps you regain control.
Injury on the route: stabilize and evacuate
With an injury, prioritize site safety and assess the person. Stop bleeding; apply pressure dressing if needed. Suspected fractures mean immobilize the limb using what you have. Prevent cold stress by insulating and blocking wind.
Use pain relief as directed and within personal limits. Evacuation depends on severity and distance to help. Self-evac is only okay if the person is stable. Keep brief notes on timing and actions – it helps when handing off to rescuers.
SOS signals, coordinates, and working with rescuers
Knowing standard distress signals increases the odds of a fast response. Three whistle blasts or three flashlight flashes with pauses is widely recognized as a help signal. Share coordinates in a format both sides understand – set devices to the same coordinate system ahead of time.
On a call, state group size, the problem, weather conditions, and what gear you have. Save battery, but keep communication open until you get instructions. Beacons and trackers send alerts automatically, but visible ground signals are still useful. Clear info helps rescue teams move faster and cuts waiting time.
❓FAQ❓
Do I need trekking poles, and when do they actually help?
They excel on steep descents, loose scree, and stream crossings – also cutting knee strain. On flat, smooth trail, they’re just extra weight.
What’s the best way to prevent blisters before they start?
Keep nails trimmed and feet dry. Apply liner socks or blister tape to known hot spots before rubbing begins. Once you feel that hot spot, it’s already too late – stop immediately. Pushing through guarantees a blister.
Should I bring a water filter, or is carrying enough water fine?
With reliable sources, a filter means less weight and more flexibility. If sources are uncertain, treat filtering as a backup. Sources dry? Filter’s useless.
How do I calculate water needs without overthinking it?
Consider heat, effort, and exposure. Then add a margin. If you’re rationing water early on, you didn’t pack enough. Full stop.
Is it worth training specifically for hiking, or is general fitness enough?
General fitness helps, but hiking wrecks you in particular ways: uphill endurance and downhill control. Weekly hill or stair sessions plus loaded walks target exactly that.
About the Author